LINKS

HOME .......... ABOUT .......... WINKLE ARTS .......... PUNCH NEEDLE TIPS ........... FINISHED PUNCH NEEDLE ......... MINI PUNCH NEEDLE ...... HOW TO PURCHASE ...... ARCHIVE......MAIN SHOP ...... ETSY SHOP ...... FACEBOOK...... PINTEREST ...... INSTAGRAM
Showing posts with label Finishing. Show all posts

Monday, May 23, 2016

Finishing Christmas Ornaments


Finishing your Christmas Ornaments

You should have received a template for the backing and the batting with your pattern. 
If for some reason, you didn't, don't fret email me at: kgillery@gmail.com and I will email it to you ASAP.


Cut out your template. Remember don't use your fabric scissors. It will dull them very quickly.

Cut one of each for each ornament. 
I like to use wool as a backing and have chosen a antique black. (Available at many of the friendly Etsy shops). And quilt batting (available at your local fabric store).


Turn in the edges of the punch and press with a hot iron. Watch your fingers!


Pin all together punch, Batting then backing!

I like to blanket stitch around the edges, using valdani thread that accents the punch, maybe even the same color as the outer border. 


To finish I wound rusted wire around a dowel rod about 3 or four times and clipped. I made a larger one for the top and a smaller one for the bottom. Then using the same Valdani thread stitched it to the finished punch.

I plan to venture to local flea markets to add trinkets to the bottom. Such as keys, jewelry, anything that strikes my fancy.

Whaa-La!
A beautiful unique ornament for the coming Christmas!  


Sunday, January 31, 2016

Finishing Jack the Rabbit


"Jack the Rabbit" 
Bell Pull


First off enjoy punching Jack!
Cut a border leaving 1" off weavers cloth on all sides.


Fold and Iron the weavers cloth to the inside creating a hem. 
I use the hottest setting, and start with the long sides.


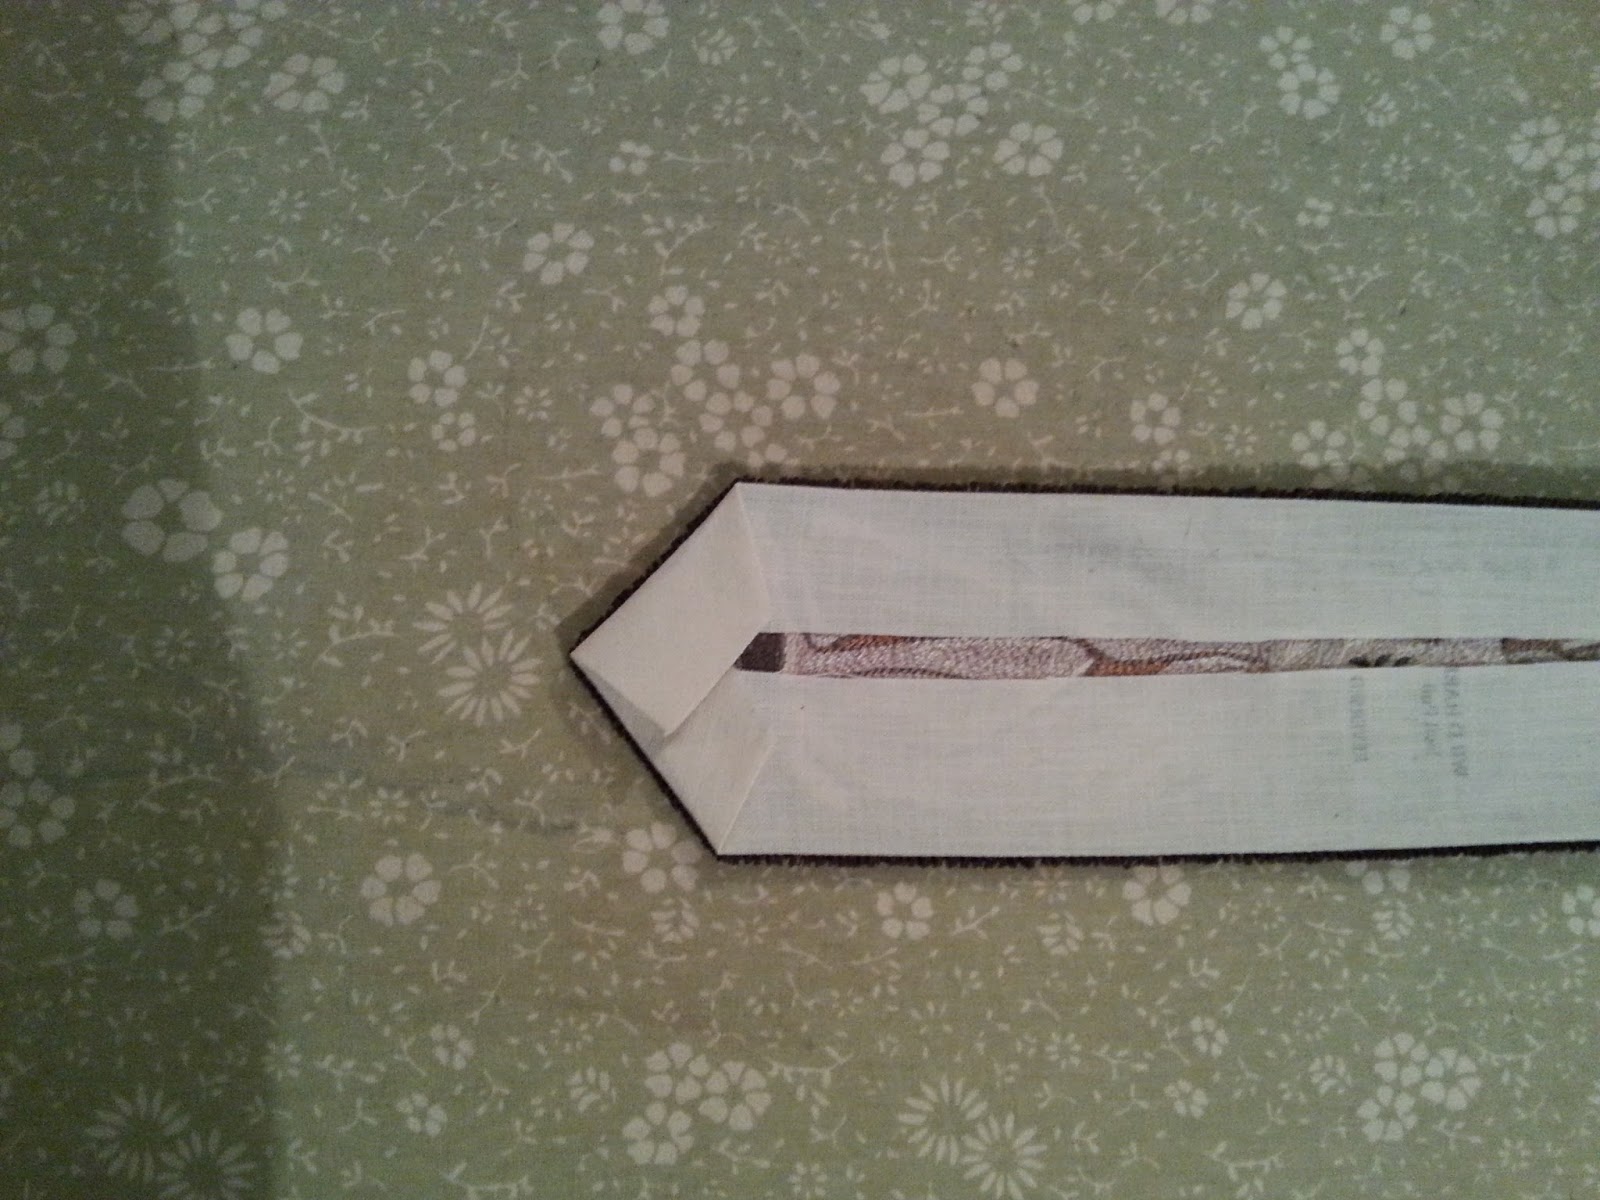
Then fold and iron the triangle at the bottom.


Both sides of the triangle, to create a point at the bottom.


Fold the corners in at the top and then iron towards the center.


All done ironing!


When you are finished with the ironing it should look like this.


I like to back my punch needles with wool. Cut the wool leaving about an 1/8" border around the punch. At the top leave approximately 2 1/2" to 3 inches for hanging  purposes. 


Pin your backing to the punch! add your tassel or bell etc. to the bottom and blanket stitch all layers!


I added a wool penny to the top and inserted a hole in the center so I could hang it on my cupboard where I keep a hook on the inside permanently for seasonal hanging. You could also use a command strip or a thumbtack.


All Finished and ready for your seasonal display! 
Hope this helps! 
Kate